
How to Install GLOCK Iron Sights
Posted by 80-Lower.com on May 10th 2023
So, you've finished your Polymer80 build, or you bought and built a custom GLOCK slide. Now you need some quality iron sights. Installing GLOCK sights is easy. It only takes 15 minutes with some basic tools. Here's how to install GLOCK iron sights!
GLOCK Sight Install: Tools Needed
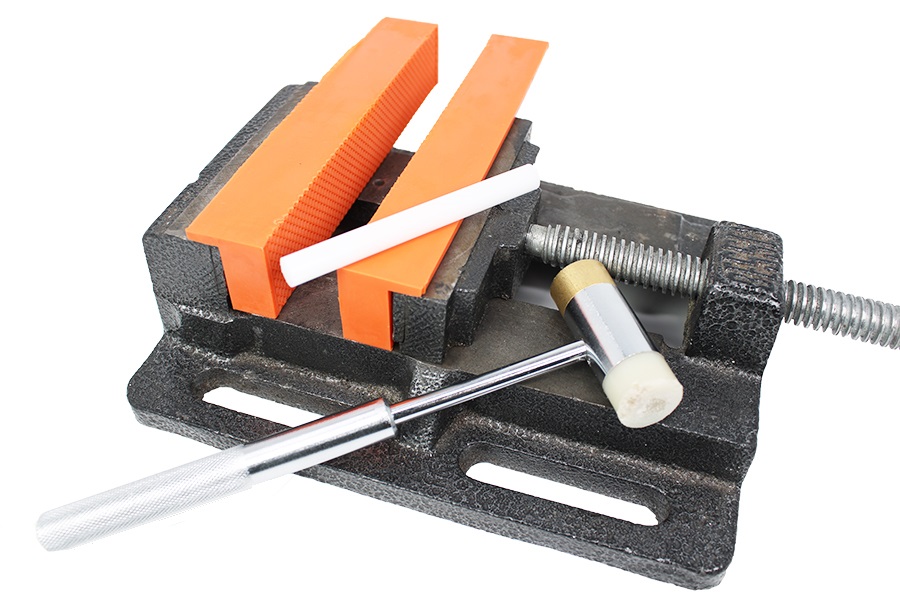
Nylon Punch: A nylon punch assists with tapping the rear sight into its dovetail fitting without damaging the sight itself.
Gunsmith Hammer: A gunsmith hammer with brass and nylons head should be used to tap the rear sight in with a nylon punch. Using a regular hammer could result in damage to the sight or slide.
Tabletop vise. A small vise should be used to secure the slide while tapping the rear sight in.
Vise pads. Rubber vise pads provide added grip when clamping down your slide. They also help prevent marring the finish on the slide during installation.
Blue Loctite. Loctite should be applied to the front sight screw to ensure it does not loosen from recoil.
How to Install GLOCK Sights
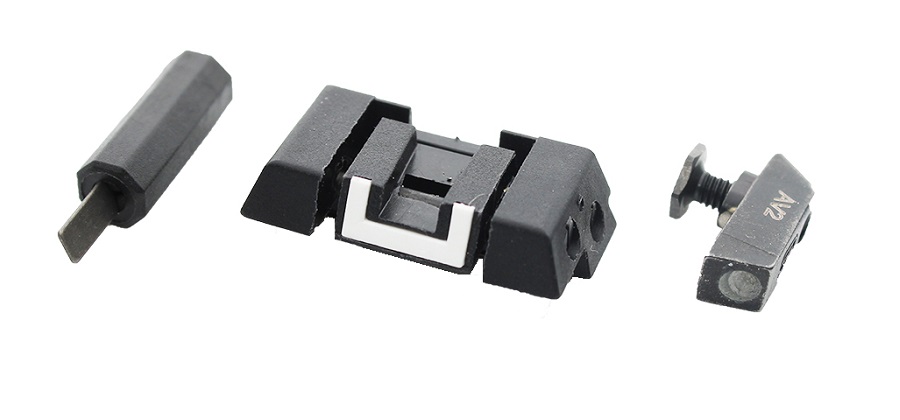
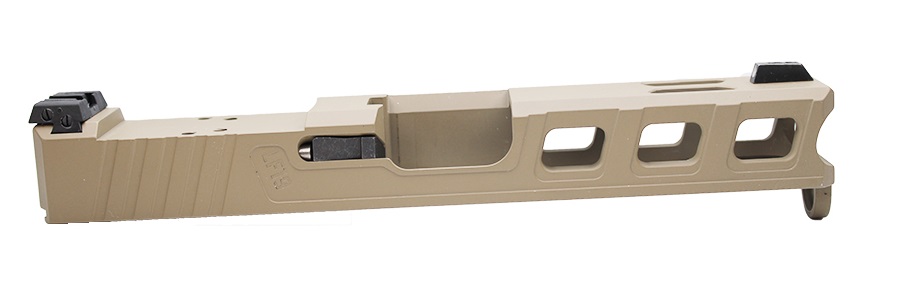
For this installation, we're using a standard OEM adjustable rear sight and an OEM front night sight. The rear sight provides both windage and elevation adjustments, while the front sight provides illumination in low light via a Tritium dot.
Step 1: Seat the Rear Sight By Hand
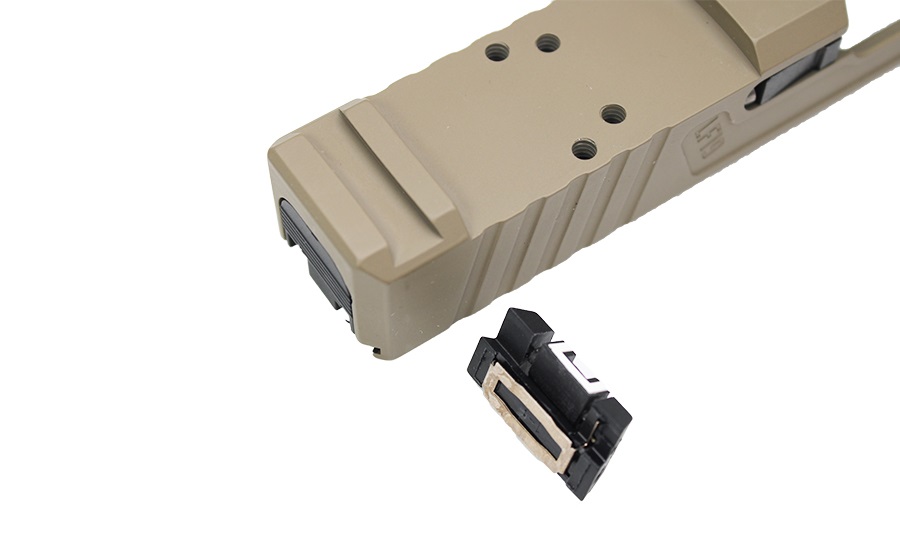
The GLOCK rear sight is held in place via simple friction. All factory and aftermarket slides feature the same triangular dovetail mount. On some slides, this dovetail channel is tapered. That means the right side is wider than the left. If your dovetail fitting is tapered, you should remove any existing rear sight by tapping it out left to right. Install the new sight by tapping it in from right to left.
To get started, simply press the rear sight into the dovetail channel by hand. Light pressure with your thumb is all that should be needed.
Step 2: Secure Slide in Vise
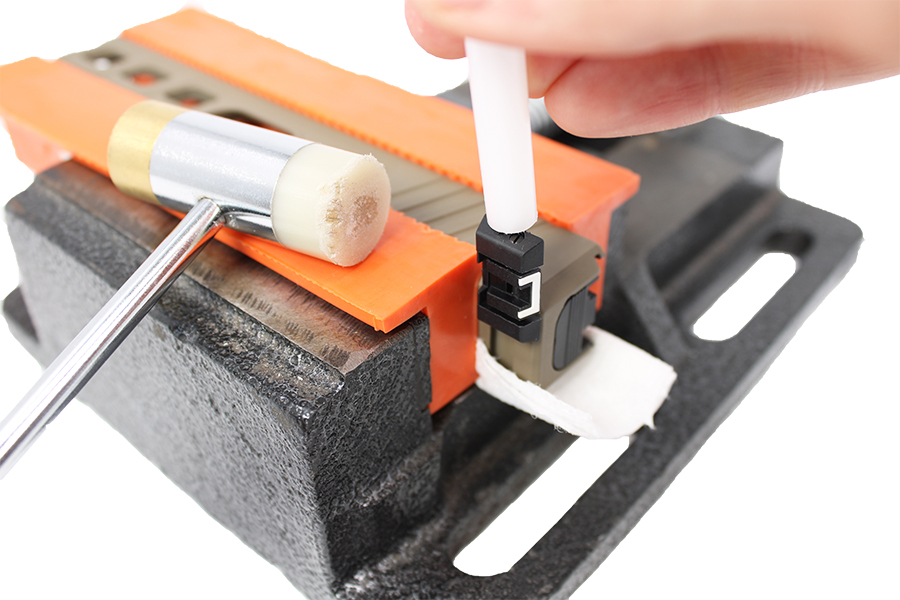
With the rear sight partially seated, secure the slide in your vise. Clamp it down with the right side facing up. Grab your nylon punch and gunsmith hammer. Align the end of the punch on the right side of the slide. Most sights are slightly angled; be sure to match this angle with the face of the punch.
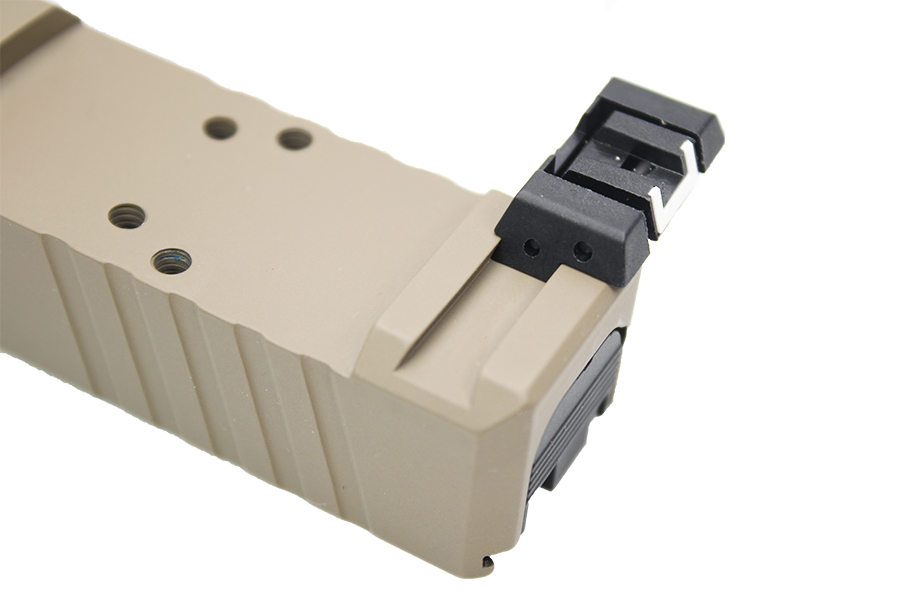
Step 3: Tap Rear Sight Until Fully Seated
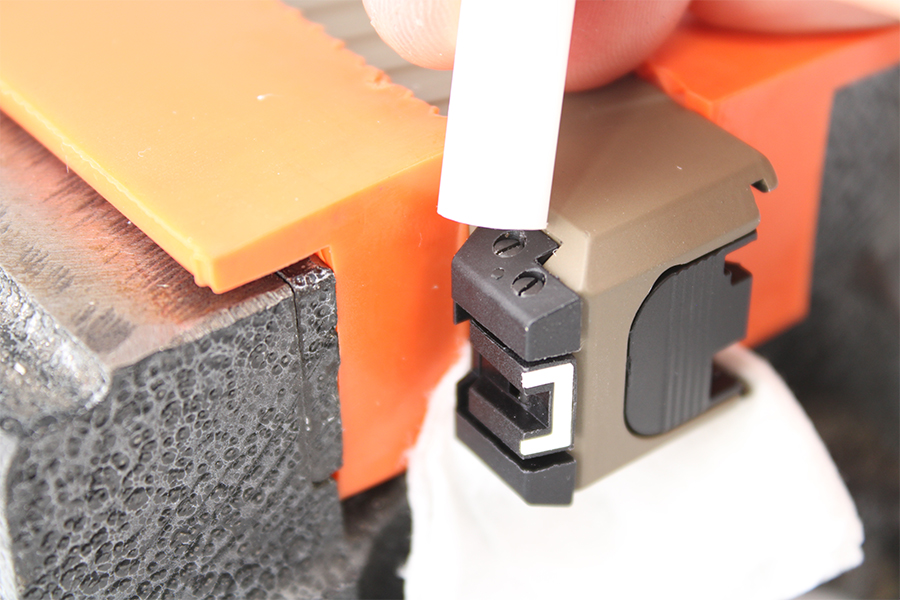
Gently tap on the rear sight until it is pressed into the dovetail fitting completely. When fully seated, each side of the rear sight should sit flush with either side of the slide.

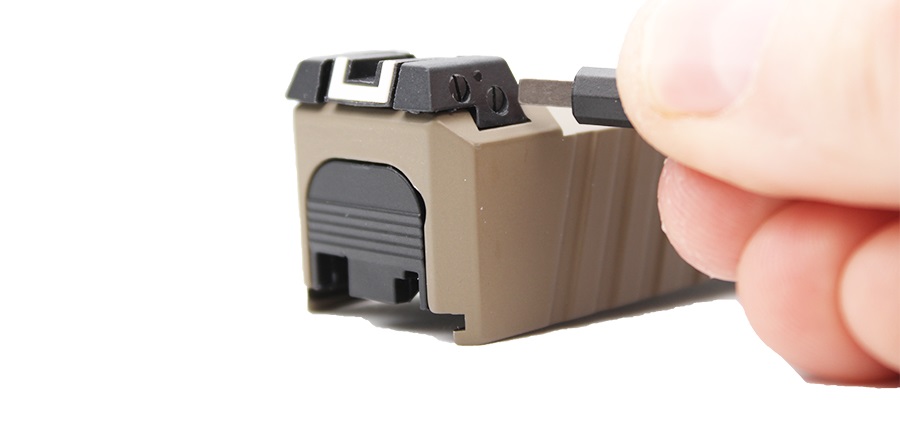
You can verify sight alignment by removing the slide from the vise and viewing the rear sight from directly behind the cover plate. If the sight is out of alignment, reinsert the slide in the vise, and gently tap either side as needed to align the sight. The sight must be perfectly aligned to provide full use of the available windage adjustment range.
Step 4: Seat Front Sight in Mounting Hole
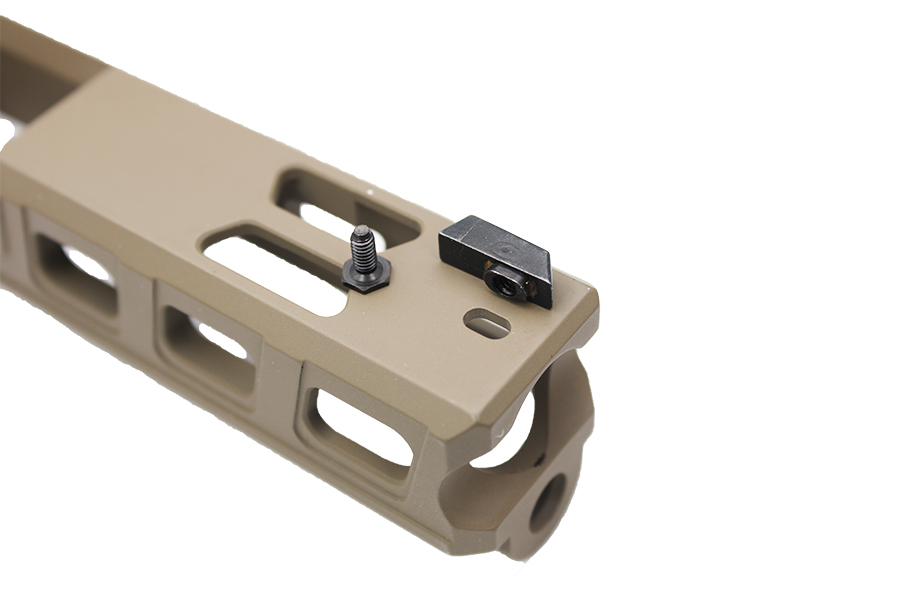
The front sight hole is oval, as is the shape of the threaded mount underneath the front sight. This "keyhole" design ensure the front sight cannot rotate out of alignment during installation. Drop the front sight into its mounting hole, ensuring the dot on the sight is facing the rear of the slide.
Step 5: Install and Tighten Front Sight Screw
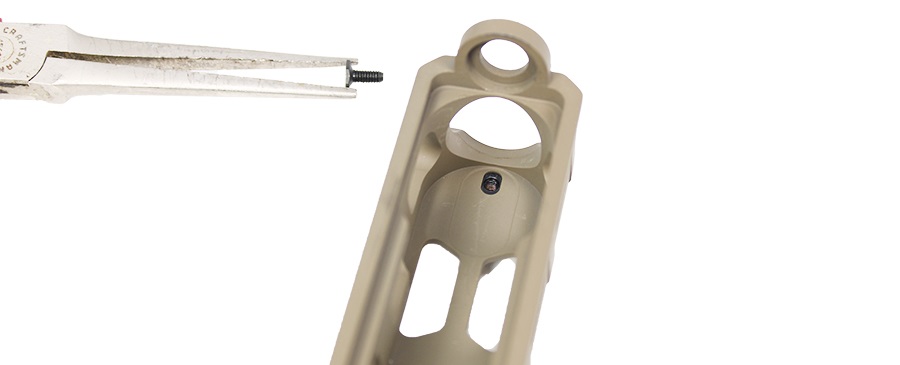
With the front sight inserted, flip the slide over. Grab the small set screw, and use an appropriately sized socket (or a pair of pliers) to thread and tighten the set screw. Be sure to apply blue Loctite or an equivalent thread-locking compound to the threads before securing the screw.
Your GLOCK Sight Install is Complete
With both sights installed, verify alignment of the front and rear sights. You are now ready to adjust and zero your irons at the range!
Use the OEM rear adjustable sight's provided flathead tool to make the necessary windage and elevation adjustments. When it comes to making both windage and elevation adjustments with the rear sight, remember to always adjust the sight in the opposite direction of your round's point of impact.
For example: If you fire a three-shot group and your rounds land high and to the right of your point of aim, you should adjust the rear sight's windage knob to the left and adjust the elevation knob downward.This will align your point of aim with your points of impact.
DISCLAIMER: If you are new to the world of DIY gun building, you likely have a lot of questions and rightfully so. It’s an area that has a lot of questions that, without the correct answers, could have some serious implications. At GunBuilders.com, we are by no means providing this content on our website to serve as legal advice or legal counsel. We encourage each and every builder to perform their own research around their respective State laws as well as educating themselves on the Federal laws. When performing your own research, please be sure that you are getting your information from a reliable source.